We all had our share with Fruit Slicer. No? If you haven’t, slicing your daily vegetables and fruits might give you the idea.
But in Adobe Photoshop, you can also do the same thing. You can slice any part of the image you want. Maybe you don’t want some parts or want to use some parts of it for a project or collection, you can do that. So you slice it, how to export slices in Photoshop?
Well, you can export them all together or individually by clicking the ‘save’ option. If you want to export them individually, you just have to click on the preview window and click save, and show the destination folder.
Confused? Let’s guide you through the steps.

3 Easy Steps To Export Slices In Photoshop
To export your slices in Adobe Photoshop, you just have to follow these three steps. You can skip the slicing part if you already sliced it up. And follow on from the second step.
1. Slice Your Desired Image Parts
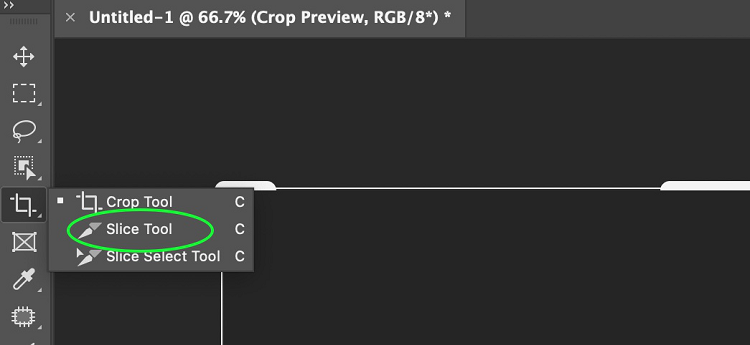
Open the image on Photoshop and select the ‘Slice Tool’. It is situated in the Crop Tool section. Drag over the section of the image you want to slice. This area is called a ‘Section’. The more slice you do, the more sections you will have.
2. Name Each Slice
When you are done Slicing, it is time to name them. Double-click on each of the slices to name them. A box will pop up prompting a naming option. Name them as you like.

3. Export Export
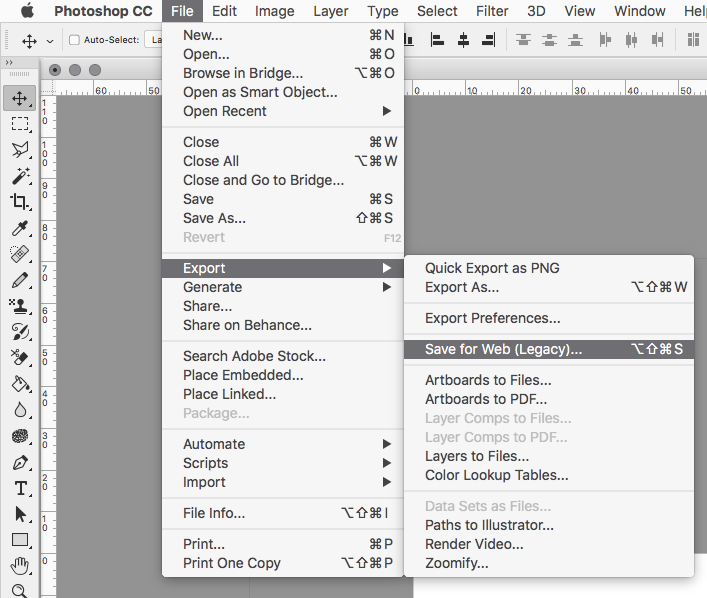
Now we export. Select the ‘File’ option from the main Photoshop Tab. Select ‘Export’ from the drop-down menu. Choose ‘Save for Web’. You will be given the option to select a file format to save your image.
Now you have to go to the left side of the dialog box where you will find ‘Slice Select’. Hold the ‘Shift’ button down and select the slices you want to save. And then click on ‘Save’. Show the place you want them to be saved. And you are done.
You can also save all the Sliced Images all at once by ignoring the ‘Slice Select’ option and clicking on ‘All Slices’. It is situated at the bottom of the dialog box. And then press save and show the destination folder to save.
FAQs – Frequently Asked Questions and Answers
How do you export slices as files?
To export your slices as files, you have to select Export Slices to CLI block. Drag your merged slice stack block to Slice Stack Input. Then select the folder icon to show the file where you want to save it.
How do I split an image in Photoshop and export it?
You can split an image by Slicing it in Photoshop. You will find the slicing tool in the Crop Tools section. And then export the split images as individual images by saving them.
Conclusion
Slicing is like cropping your image but with higher customization and precision. This allows you to split images, crop an exact part or even manipulate the image as a whole. Exporting it is fairly easy as each slice has a different window of its own.